
Microsoft’s SharePoint PnP Provisioning engine recently received six notable updates. Read all about them.
In mid-March, the world of SharePoint Online site provisioning got an update from the geniuses working in Microsoft Patterns and Practices (PnP) – namely The SharePoint Provisioning Service.
Before we dig into the new provisioning service, we should probably take a minute to recap the PnP Provisioning Engine, which is part of the foundation of this service.
Originally released in 2015, the engine was developed to fill a major gap SharePoint administrators had with the inability to quickly deploy standardized site collections through a form of automation. The intention was also to completely remove the need for an administrator to have to create it.
To vastly oversimplify, using a combination of Azure web jobs, SharePoint solutions, and a SharePoint site collection, the engine provides a simple, front–facing website to end users that allows them to request a new site based on templates created or added by an administrator.
From there, the site provisions automatically without any administrator action needed. This step requires some configuration and tweaking to perfect in a production environment. But once completed, it ends up miles ahead of the out-of-the-box site provisioning experience.
Microsoft PnP Provisioning Engine Updates
Though still in beta, I’m excited to see many powerful enhancements to the PnP Provisioning Engine. These enhancements simplify the deployment of a modern SharePoint site by reducing the amount of time to deploy, while including core site features and capabilities all within a simple interface.
For anyone familiar with the current production version of the PnP Provisioning Engine, you’ll recognize some similar features. Here are a few notable updates:
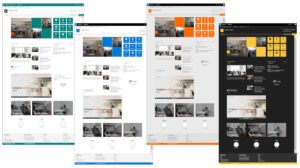
#1 – Free Templates:
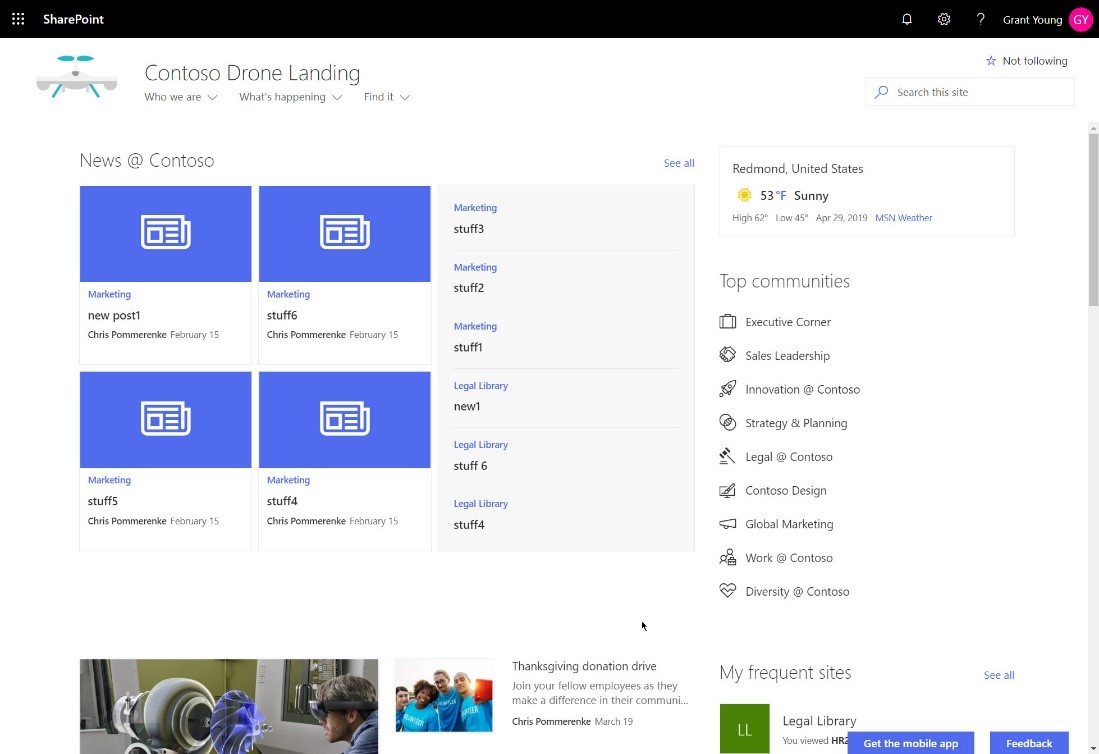
From hub sites to team sites, there is a range of cleanly branded, customized modern sites to inspire your creative juices!
Sometimes it can be difficult to visualize or even mock up a SharePoint site that truly shows the power of SharePoint Online. I know I’m guilty of having spent entirely too much time selecting proper web part layout, navigation elements or even content in a demo environment. With these templates, we no longer have to spend hours in design to show off why we love a SharePoint site!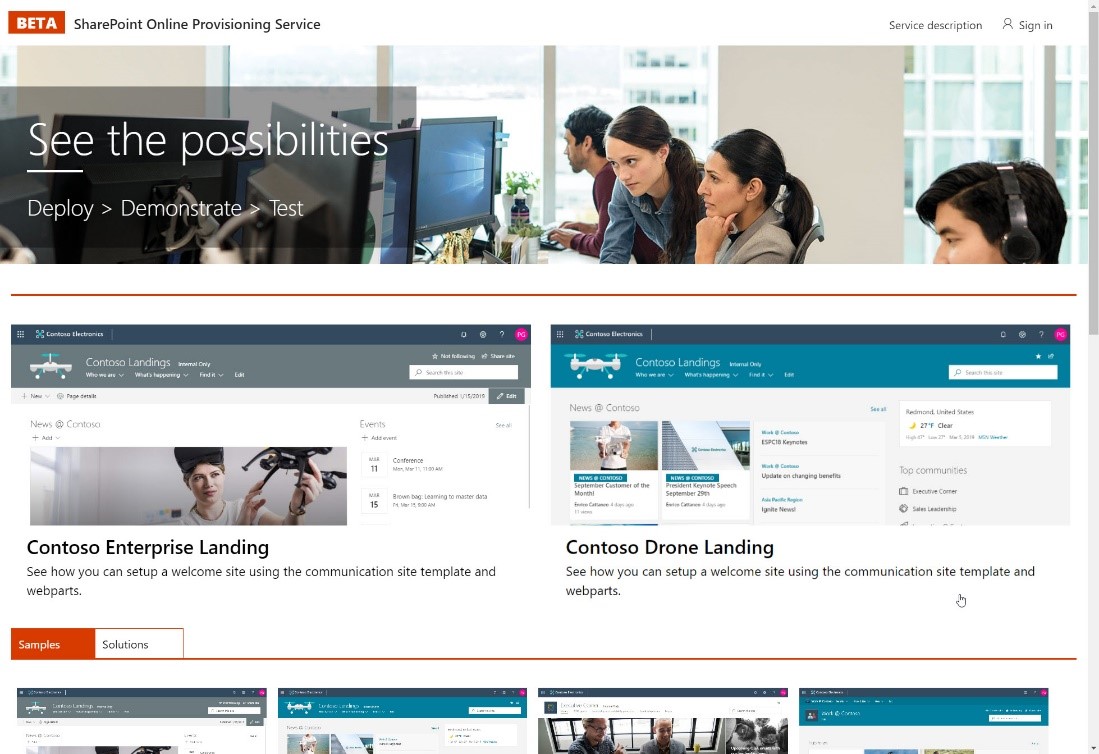
#2 – Intuitive Interface:
A streamlined, simple user interface allows you to select, define and rapidly deploy a SharePoint site. Technically, the engine site creation page also hit these marks, but having deployed it in production settings, I can tell you the sheer speed increases in comparison are amazing! Less moving parts here has really made this experience more fluid.
#3 – No Code:
This service doesn’t require any PowerShell or JavaScript experience – simply point and click! Enough said about no code above, but I would be remiss if I didn’t call out that the engine is open source. The beauty, of course, is that we the people can directly support, recommend, and even customize the code.
#4 – SharePoint Starter Kit:
This kit is the swiss army knife of SharePoint ready demo content! The SharePoint Starter Kit includes 3 site collections, SharePoint Framework extensions, custom themes and site designs, all packaged up and ready to deploy with a few clicks of the mouse. Check back often as the team is constantly adding new features.
#5 – Custom Theme During Provisioning:
Aside from a notification email to alert the requestor when the site receives provision, the title and URL, we can apply a custom theme during provisioning. Very cool!
Theming is typically an afterthought for me. I’m usually focused more on functionality and layout than the theme. That said, I’ve had my share of automated theming via the provisioning engine and PowerShell, which, if you’re anything like me, commonly looks like the following:
- Complete the site theme
- Export the theme to XML and apply it to the next site
- Pat myself on the back for a job well done
- Realize the typeface, color or text size is wrong on multiple pages
- Return to step 1, exclude step 3, rinse and repeat
The thought of removing that entire process makes me tear up a bit with giddiness.
#6 – Rapid Provisioning to Live Site:
The PnP team mentions provisioning can take different lengths of time to complete depending on site complexity, but I completed creating and launching my test site collection in under 5 minutes.
Again, once configured properly, the engine ran quickly, but in my experience, we typically recommended allowing hours, if not overnight, for the site to receive provision. Hours to minutes – I’ll take it!
How to Get Started with the Provisioning Service
If you are new to the provisioning engine here are the steps to get started:
- Browse to https://provisioning.sharepointpnp.com
- Login to your tenant using global administrator credentials. (remember, this service is still in beta, so buyer beware if you choose to deploy to your production SharePoint Online instance!)
- Select the template you would like to provision
- Click the button “Add to your tenant”
- Allow the required application security
- Populate the Notification Email, Site Title, and Site URL (or leave the defaults)
- Click the “Provision” button and wait for the magic to happen!
If you haven’t tried the PnP Provisioning Engine or Service or would like to learn more about the PnP project, you can get more information from GitHub or Microsoft.
I’m always curious to hear about how companies are handling SharePoint site creation. If you’ve found something you believe is tried and true, reach out – I’d love to hear about your experience!
